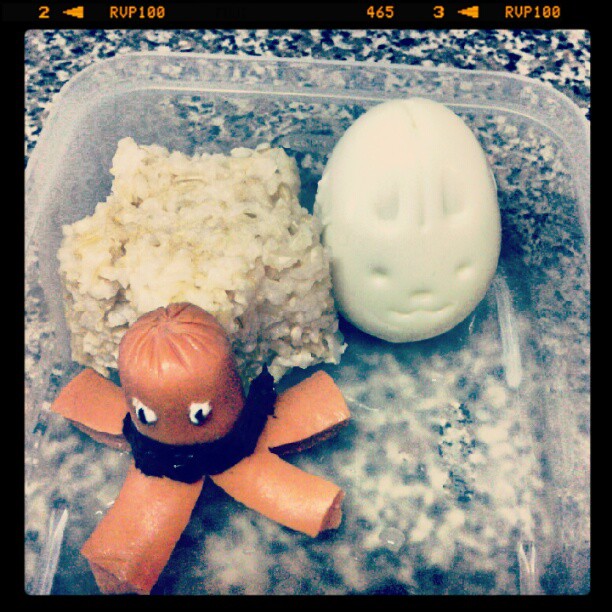
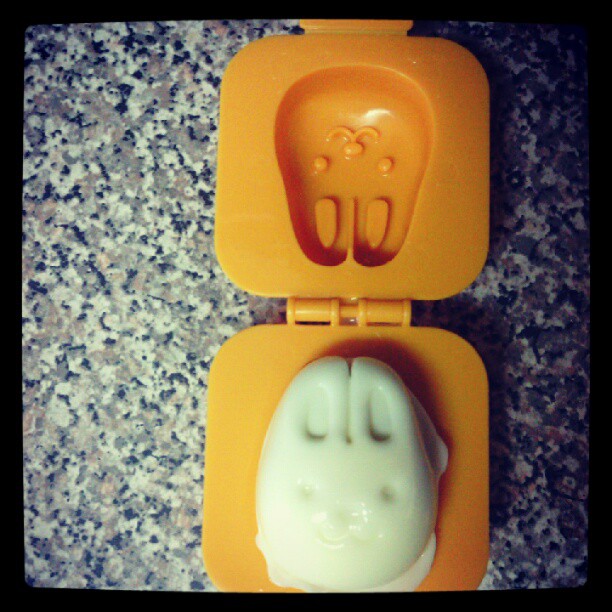
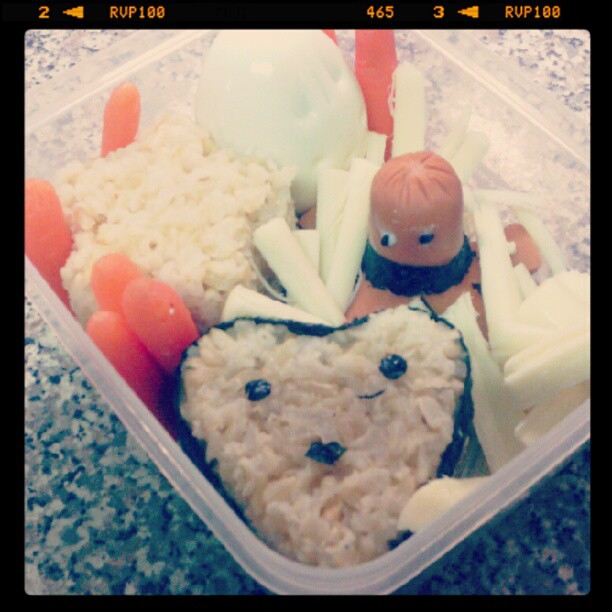
So I got up early this morning and took advantage of daddy being home, and let him keep the girly entertained while I slaved (and I mean this quite literally) in the kitchen for about 1.5 hours including cleanup, to create this!
I did boiled eggs which I molded into bunny and bear shapes. I did brown rice which was molded into heart and star shapes. I did a hotdog octopus with turkey dog. And I shredded some part skim mozzerella cheese and placed some carrots to take up some space.
Hubby left to visit with his kids and I was left with girly whom happily viewed the "masterpiece" (okay so I need to work on this a bit more, Im not fantastic...yet). She sat down and quickly informed me of everything she was NOT going to eat. Which ended up being everything but the egg. I wont lie, I fought back tears. Seriously??? I spent this much time trying to make your food appeal to you and you have the nerve to sit there and tell me you wont even TASTE a couple bites of each thing?
I am torn between making another one for her and tempting her and throwing my hands into the air, and screaming.


 RSS Feed